
Looking for a SillyTavern installation guide for Windows in 2026? The short version is simple: install it in a normal user folder, use the official Windows method, avoid administrator mode, and connect either a cloud API or a local model once the browser interface opens. The longer version matters because most beginner problems come from choosing the wrong folder, missing Git or Node.js, or expecting SillyTavern to be a ready-made AI companion app instead of a powerful local frontend.

SillyTavern is excellent if you want control over characters, prompts, lorebooks, model settings, and private roleplay workflows. It is not the easiest path if you just want to open a site and start chatting in two minutes. If you want a no-install option first, you can try a hosted AI companion platform here, then come back to SillyTavern when you are ready for deeper customization.
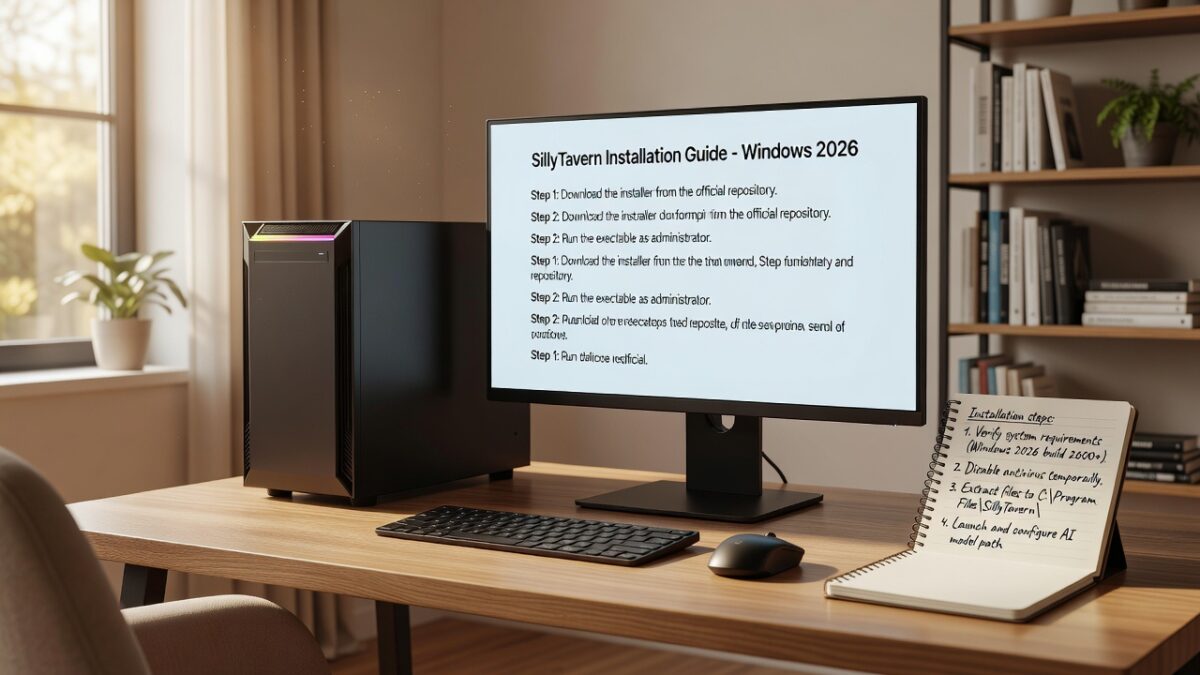
Quick verdict: who should install SillyTavern on Windows?
Install SillyTavern if you are comfortable following technical steps, managing an API key or local model backend, and tweaking settings until the chat feels right. It is especially good for power users who want character cards, long-term roleplay context, visual novel style chats, extensions, text-to-speech options, and advanced prompt control.
Skip the installation, at least for now, if you want instant access on phone, polished onboarding, and built-in character discovery without managing software. In that case, compare easier apps first: our Candy AI NSFW roleplay review explains how a hosted companion app feels compared with local tools, while this GirlfriendGPT review covers another browser-based alternative.

What SillyTavern actually is
SillyTavern is a free, open-source frontend for large language model chat. It does not include an AI model by itself. Think of it as the control room: you bring the model through OpenAI, Claude, OpenRouter, KoboldCpp, Ollama, text-generation-webui, AI Horde, or another compatible backend, and SillyTavern gives you the interface for character-driven chat.
This distinction is important. Installing SillyTavern successfully only gives you the chat interface. To get replies, you still need to connect a model source. That model source can be cloud-based, which is easier but may cost money, or local, which gives more control but usually needs stronger hardware and more setup time.
If you are comparing setup paths across devices, keep this guide focused on Windows and bookmark our broader SillyTavern installation guide for 2026 for Windows, Mac, Linux, and Android context.
Windows requirements before you start
Before installing, make sure your Windows setup is realistic. For API-based use, SillyTavern can run on a modest modern PC because the heavy language model work happens elsewhere. For local models, your hardware matters much more. A recent NVIDIA GPU with at least 6GB of VRAM is a practical starting point, and more VRAM gives you more model options.
- Use Windows 10 or Windows 11. Very old Windows versions are not a good target for current SillyTavern builds.
- Install in a normal folder such as C:SillyTavern or a folder inside your user directory.
- Do not install inside Program Files, System32, or another Windows-controlled folder.
- Do not run the start file as administrator unless the official docs specifically tell you to for a special case.
- Have a stable internet connection for downloading dependencies and updates.
- Decide whether you will use a cloud API, AI Horde, OpenRouter, or a local backend after installation.
The folder warning is not cosmetic. Many failed Windows installs happen because permissions, antivirus monitoring, or administrator mode create strange dependency issues. Put SillyTavern somewhere simple and writable, then keep that folder dedicated to the app.

Best Windows installation method in 2026
The most beginner-friendly route is the official SillyTavern Launcher method, because it reduces the number of manual commands you need to understand. The Git method is also reliable and is preferred by users who want transparent updates and a standard repository workflow. GitHub Desktop is another option if you like a visual interface for cloning repositories.
For most Windows users, I would choose the official launcher first, then use the Git route only if you are already comfortable with command prompts. If you want a second opinion from our network, this Windows-specific SillyTavern guide and this local AI companion setup walkthrough cover the same search intent from slightly different angles.
Step-by-step: install SillyTavern on Windows
- Create a clean install folder. Open File Explorer and create a folder outside protected Windows locations. A simple folder like C:AISillyTavern or C:SillyTavern is easier to troubleshoot than a deeply nested path.
- Install the prerequisites requested by the official method. Current SillyTavern builds depend on modern Node.js support. If you use the launcher, it may handle part of this process. If you use Git manually, install Git for Windows and follow the official commands exactly.
- Run the official installer or clone the repository. If using the launcher, run the official Windows command or launcher workflow from the documentation. If using Git, open Command Prompt in your clean folder and clone the SillyTavern repository there.
- Start SillyTavern normally. Use the provided start file from the SillyTavern folder. Do not right-click and run as administrator. A command window should open and the local web interface should appear in your browser.
- Wait through the first dependency setup. The first launch can take longer because packages and dependencies may need to install. Do not close the command window just because it looks busy.
- Confirm the browser interface loads. Once the local server is running, SillyTavern should open in a browser tab. If the page does not open automatically, check the command window for the local address and paste it into your browser.
Expect the full first-time setup to take anywhere from ten minutes to an hour depending on your internet speed, Windows permissions, antivirus behavior, and whether prerequisites are already installed. After the first successful launch, future starts are usually faster.

First launch checklist
When the interface opens, resist the urge to change every setting immediately. First, confirm that the basics work. Create or import one character, choose a simple persona name, and open the API connection panel. SillyTavern can look intimidating because it exposes many power-user settings, but a beginner only needs a working model connection, one character, and a short test message.
- Create a basic character or select a default one.
- Set your user persona name so the chat has a clear speaker identity.
- Open the API connection settings from the top bar.
- Select your model source, such as OpenAI-compatible API, OpenRouter, AI Horde, or a local backend.
- Paste the required key or local server address.
- Click connect or test, then send a short message.
If the connection test fails, the install may still be fine. Many beginners confuse an installation failure with a backend connection failure. SillyTavern can be installed correctly and still fail to answer if the API key, model endpoint, local backend, or model selection is wrong.
Connecting a model: cloud API vs local backend
The easiest first connection is usually a cloud API or an OpenAI-compatible router because you only need an account, an API key, and the correct model selection. This is convenient but can cost money depending on usage. Read pricing before long roleplay sessions because extended chats with large context windows can add up.
The local route is more private and flexible but more technical. You need a backend such as KoboldCpp, Ollama, LM Studio, or text-generation-webui running separately, then SillyTavern connects to it. Local models can be excellent for experimentation, but you will spend time choosing models, adjusting context size, and balancing speed against quality.
For roleplay users, the practical choice is simple: use a cloud or routed API if you want the fastest first successful chat; use a local backend if you specifically care about running models on your own machine. If neither sounds appealing, a hosted companion app is more practical. You can start with an easier hosted AI companion option while you learn the local setup.

Common Windows errors and quick fixes
Nothing opens in the browser
Check the command window first. If it shows a local address, copy that address into your browser manually. If the command window closed instantly, you may have launched the wrong file, installed in a protected folder, or missed a prerequisite.
You might also like: Is CrushOn AI Safe Worth It? Full Breakdown
Permission or access errors
Move the install to a normal user-controlled folder and try again. Avoid Program Files and similar protected locations. Also avoid running the start file as administrator because that can create mismatched permissions for later updates.
Node.js or dependency errors
Install a current supported Node.js version, then restart the setup. If you used an old guide from 2024 or earlier, update your steps because dependency expectations change over time.
API connects but replies are bad
This is usually a model or prompt issue, not an installation issue. Try a different model, reduce overly complex character instructions, and test with a basic message. Once the simple test works, add lorebooks, character depth, and advanced settings gradually.
Roleplay features worth setting up after installation
Once SillyTavern works, the fun begins. The tool is popular because it gives roleplay users fine control over character behavior and session structure. Visual Novel Mode can make chats feel more immersive. Lorebooks help maintain world details and character memory. Image generation integrations can support scenes and avatars. Text-to-speech can make longer conversations feel more natural.
Do not turn on every extension at once. Add one feature, test it, then add the next. This makes troubleshooting much easier. If a chat breaks after you change ten settings in one session, you will not know which setting caused the problem.
SillyTavern vs hosted AI companion apps
SillyTavern wins on control. You decide which model to use, how characters are written, how prompts are structured, and how much you want to customize. It can be the better tool for advanced roleplay writers, local model fans, and users who enjoy tinkering.
Hosted AI companion apps win on convenience. They normally handle accounts, character discovery, interface polish, mobile access, and model hosting for you. You trade some control for speed. If your real goal is to chat tonight rather than build a setup, that trade can be worth it.
For comparison shopping, read our SillyTavern setup guide, then compare hosted roleplay options such as ThotChat AI vs CrushOn AI or JuicyChat AI vs CrushOn AI. If you want the full cross-platform view, this Windows, Mac, Linux, and Android SillyTavern guide is also useful.
Safety, privacy, and adult roleplay notes
SillyTavern gives you more control than most hosted apps, but privacy depends on the backend you choose. If you use a cloud API, your requests are still sent to that provider. If you run a local model, more of the workflow can stay on your own machine. The software being open source is a plus, but it does not automatically make every connected model or extension private.
For adult roleplay, the same logic applies. SillyTavern can support private fantasy chat when connected to a model source that allows it, but cloud providers may have strict policies. Hosted companion apps may be easier for users who want a clear consumer experience without managing model rules. Always keep interactions legal, consensual, fictional, and adult-only.
Final recommendation
For Windows users in 2026, SillyTavern is worth installing if you want maximum control over AI roleplay and do not mind a technical setup. Use the official Windows method, install outside protected folders, avoid administrator mode, connect one model source first, and only then explore advanced extensions.
If that sounds exciting, SillyTavern is one of the best local frontend choices available. If it sounds exhausting, you are not the target user yet. Start with a hosted AI companion, learn what kind of characters and chat style you like, and come back to SillyTavern when you want more control. For instant access without Windows setup, try the easier AI companion route here.
FAQ
Is SillyTavern free on Windows?
Yes. SillyTavern itself is free and open source. Costs can appear if you connect it to a paid cloud API or choose paid model access through another provider.
Does SillyTavern include an AI model?
No. It is a frontend. You still need to connect a cloud API, AI Horde, OpenRouter, or a local model backend before chats can generate replies.
Do I need a strong GPU?
Not for API-based chatting. A strong GPU becomes important only if you want to run local models on your Windows machine.
Why should I avoid Program Files?
Windows-controlled folders can create permissions problems during dependency installation, updates, and normal startup. A simple user-controlled folder is easier and safer for this kind of app.
What is the easiest alternative to SillyTavern?
The easiest alternative is a hosted AI companion service where the model, interface, and characters are already available in the browser. You give up some customization, but you avoid the Windows installation work.
Related reading: SillyTavern Setup Guide 2026: Step-by-Step for Private AI Roleplay
Related reading: SillyTavern Installation Guide Windows 2026: Step-by-Step Setup for AI Roleplay
Related reading: Get Harder AI Review 2026: NSFW Chat, Memory, Visual Tools and Alternatives
"I was skeptical at first, but Candy.ai genuinely surprised me. The conversations feel incredibly natural."
Ready to Meet Your AI Companion?
Join 2,000,000+ users already on Candy.ai. Start chatting in under 30 seconds.
Start Chatting Now — It's Free →

Create Your Perfect AI Girlfriend on Candy.ai
Chat, voice call, and generate images with the most realistic AI companion available. No credit card required.
Create Your AI Girlfriend Free →✓ Free forever plan ✓ No signup required ✓ NSFW enabled